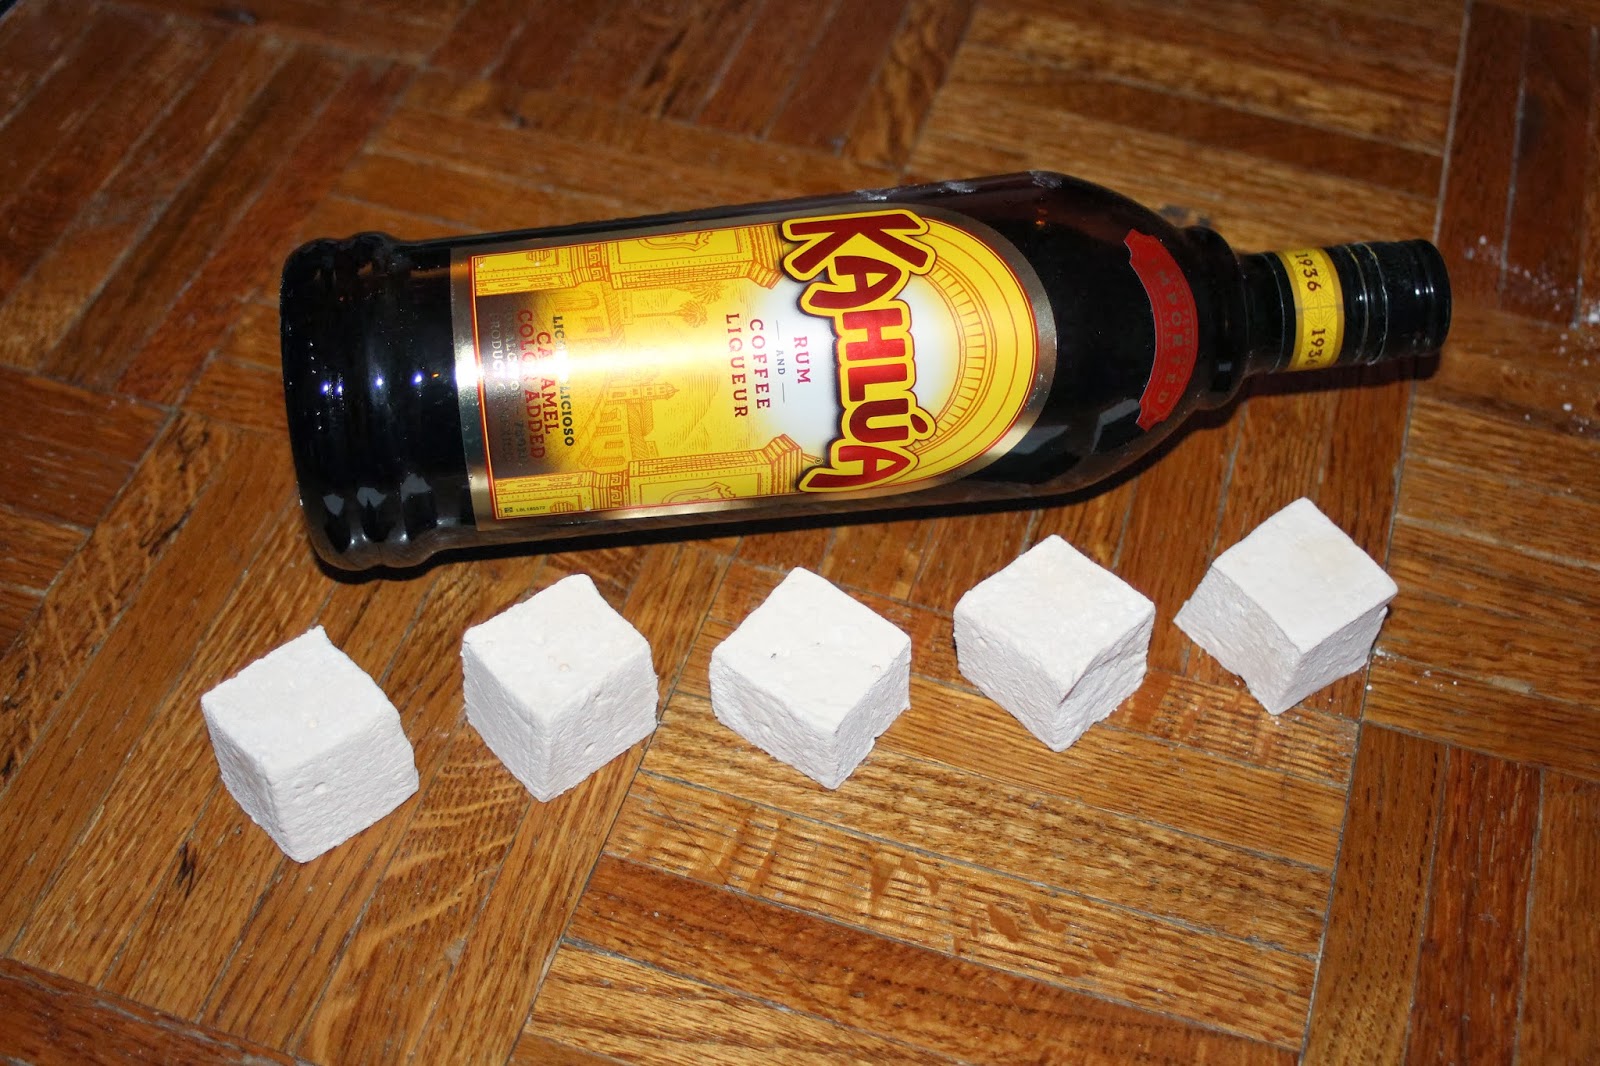
Check out how fluffy the new ones are:
especially when compared to the older version:
But I was committed to making these right. So once I improvised a little, wedged a pen strategically in the Kitchen-Aid, and held it at a 90 degree angle while it whipped the delicious marshmallow batter, I made those raspberry marshmallows. With those whipped so fluffy that they filled the 9 x 9 inch pan to the tippy-top, I set out to make these again!
Now these didn't whip up quite as fluffy as the raspberry ones, but they were a HUGE improvement from the last batch of Kahlua ones I made. First off, before they were even done setting up, they bounced back when I poked them -- a good sign!
These marshmallows are a lot stickier than the vanilla and coconut ones and a bit stickier than the raspberry ones. They're also a bit softer, so I left them sitting out longer to let them dry a little. And lastly, I was lazy and dipped them in just powdered sugar and not the powdered sugar-corn starch mixture, since I had it out on a plate from the raspberry ones I made yesterday. I actually think that the corn starch may help dry them out a little, so I recommend going with that.
Kahlúa Marshmallows
Idea from this recipe, recipe from here, and put together by me :)
Ingredients:
For the marshmallows
1/2 cup Kahlúa
3 Tbsp. + 1 1/2 tsp. unflavored powdered gelatin (3 envelopes – envelope is 1/4 oz. each, for 3/4 oz. total)
2 cups granulated white sugar
1/2 cup water
1/2 cup light corn syrup
1/2 tsp. fine salt
For the coating
3/4 cup powdered sugar
1/2 cup corn starch
Directions:
Spray a 9 x 9 or 7 x 11 inch baking pan and line with parchment paper (Recommendation: cut to fit flat on the bottom, with the edges of the paper over-hanging the sides. The ends are fine just sprayed.)
In a stand mixer fitted with a whisk attachment, pour in 1/2 cup of the Kahlúa and sprinkle the gelatin over.
Let stand.
In a medium saucepan over high heat, stir together the sugar, corn syrup, salt and the water.
Stir until sugar dissolves and mixture begins to boil.
Stop stirring and once mixture comes to a rolling boil, continue boiling for 1 minute.
Remove from the heat. (Recommendation: the original recipe said that they like to carefully pour mixture into a 2-cup glass measuring cup, to make it easier to pour into mixer. I did this and found it extremely helpful!).
The mixture is very, very, very hot. Be extremely careful!
Turn the mixer to low and mix the gelatin a bit to loosen.
Very slowly and carefully add the hot sugar mixture by pouring it gently down the side of the bowl.
Continue to mix on low until all the sugar mixture is added.
Turn the mixer to high and whip the mixture for 10 to 12 minutes until the marshmallow batter almost triples in size and becomes very thick.
If you have a smaller mixer bowl, you may need to scrape down the sides of the bowl frequently to avoid the batter overflowing as it grows.
Transfer the mixture to the prepared baking pan (a silicone bowl scraper works like a charm for this) and use a spatula or bench scraper to spread the marshmallow evenly in the pan, pushing it down into the corners.
Work quickly, as the marshmallow becomes more difficult to manipulate as it begins to set.
Spray a sheet of plastic wrap liberally with cooking spray and lay it across the top of the marshmallow, sprayed side down.
Using you fingers, smooth the plastic wrap on top of the marshmallows a bit to seal it smoothly and tightly against the mixture.
Leave the marshmallow to set at room temperature for at least 3 hours or, even better, overnight.
The marshmallow will be too sticky and soft to cut if you try too soon.
Meanwhile, mix the coating ingredients in a bowl.
Set aside.
Coat a clean area of the counter or work surface with some of the coating mixture.
Remove the plastic wrap from on top of the marshmallows and invert them onto the coating mixture.
Remove the parchment paper.
Sprinkle the top with some coating mixture as well.
Cut the marshmallows into squares, keeping the knife clean and coated with the coating as necessary to prevent sticking
Roll each of the freshly cut marshmallow squares in the coating mixture.
Lift them out with a mesh strainer.
Tap off all excess coating and place on a plate or in a storage container.


No comments:
Post a Comment