Things I've been making a lot lately: marshmallows. Things I should probably stop making in the near future: marshmallows. Types of marshmallows I made today: two.
OK, so clearly I've gotten my math a little wrong. Sue me. Or rather, wait till you see what I made today before you decide to do that.
Today I made Ice Cream Cone Marshmallows (ice cream cone treats are another thing I've done recently, but last time in
cupcake form). I made mini ice cream cones (well, I cut about 1.5 inches off the top of a regular sugar cone), then piped in some vanilla marshmallow mixture, and topped with rainbow sprinkles. I have to admit that (even though the marshmallow filling fell a little) they turned out pretty cute! I can't wait to make these again in vanilla, chocolate, and strawberry varieties...and maybe I can even work out a swirl?! Shouldn't be too hard since I just ordered a bunch of mini (2.5 inch) ice cream cones, which should be arriving soon :)
Ice Cream Cone Marshmallows
From
this recipe
Ingredients:
For the marshmallows:
1 cup water, divided
3 Tbsp. + 1 1/2 tsp. unflavored powdered gelatin (3 envelopes – envelope is 1/4 oz. each, for 3/4 oz. total)
2 cups granulated white sugar
1/2 cup light corn syrup
1/2 tsp. fine salt
2 Tbsp. pure vanilla or vanilla bean paste -- I cut this down to 1 Tbsp and still found them overly vanilla-y...I'd go down to 2 tsp next time
You will also need:
- Sugar ice cream cones with 1.5 inches cut off the top - best done with a serrated knife and
very gentle pressure (the cut-off tops reserved) -- OR -- mini ice cream cones
- Sprinkles of your choosing
- Piping bag
- Large star tip
- A regular pan for the leftover marshmallow batter
Directions:
Spray a 9x9 or 7x11 inch baking pan and line with parchment paper (Recommendation: cut to fit flat on the bottom, with the edges of the paper over-hanging the sides. The ends are fine just sprayed.)
In a stand mixer fitted with a whisk attachment, pour in 1/2 cup of the water and sprinkle the gelatin over.
Let stand.
In a medium saucepan over high heat, stir together the sugar, corn syrup, salt and the remaining 1/2 cup of water.
Stir until sugar dissolves and mixture begins to boil.
Stop stirring and once mixture comes to a rolling boil, continue boiling for 1 minute.
Remove from the heat. (Recommendation: the original recipe said that they like to carefully pour mixture into a 2-cup glass measuring cup, to make it easier to pour into mixer. I did this and found it extremely helpful!).
The mixture is very, very, very hot. Be extremely careful!
Turn the mixer to low and mix the gelatin a bit to loosen.
Very slowly and carefully add the hot sugar mixture by pouring it gently down the side of the bowl.
Continue to mix on low until all the sugar mixture is added.
Turn the mixer to high and whip the mixture for 10 to 12 minutes until the marshmallow batter almost triples in size and becomes very thick.
If you have a smaller mixer bowl, you may need to scrape down the sides of the bowl frequently to avoid the batter overflowing as it grows.
Stop the mixer, add the vanilla, and then whip briefly to combine.
When I added the vanilla, mine thinned out a bit. Just an FYI.
While the marshmallow mixture is being whipped, place the mini ice cream cones in the inverted cut-off tops of the ice cream cones (since they make the most perfect stands for the cones!!)
Transfer some of the mixture to the piping bag fitted with the large star tip.
Pipe the marshmallow mixture into each of the cones, piling it on a little bit.
Sprinkle the ice cream cones with sprinkles.
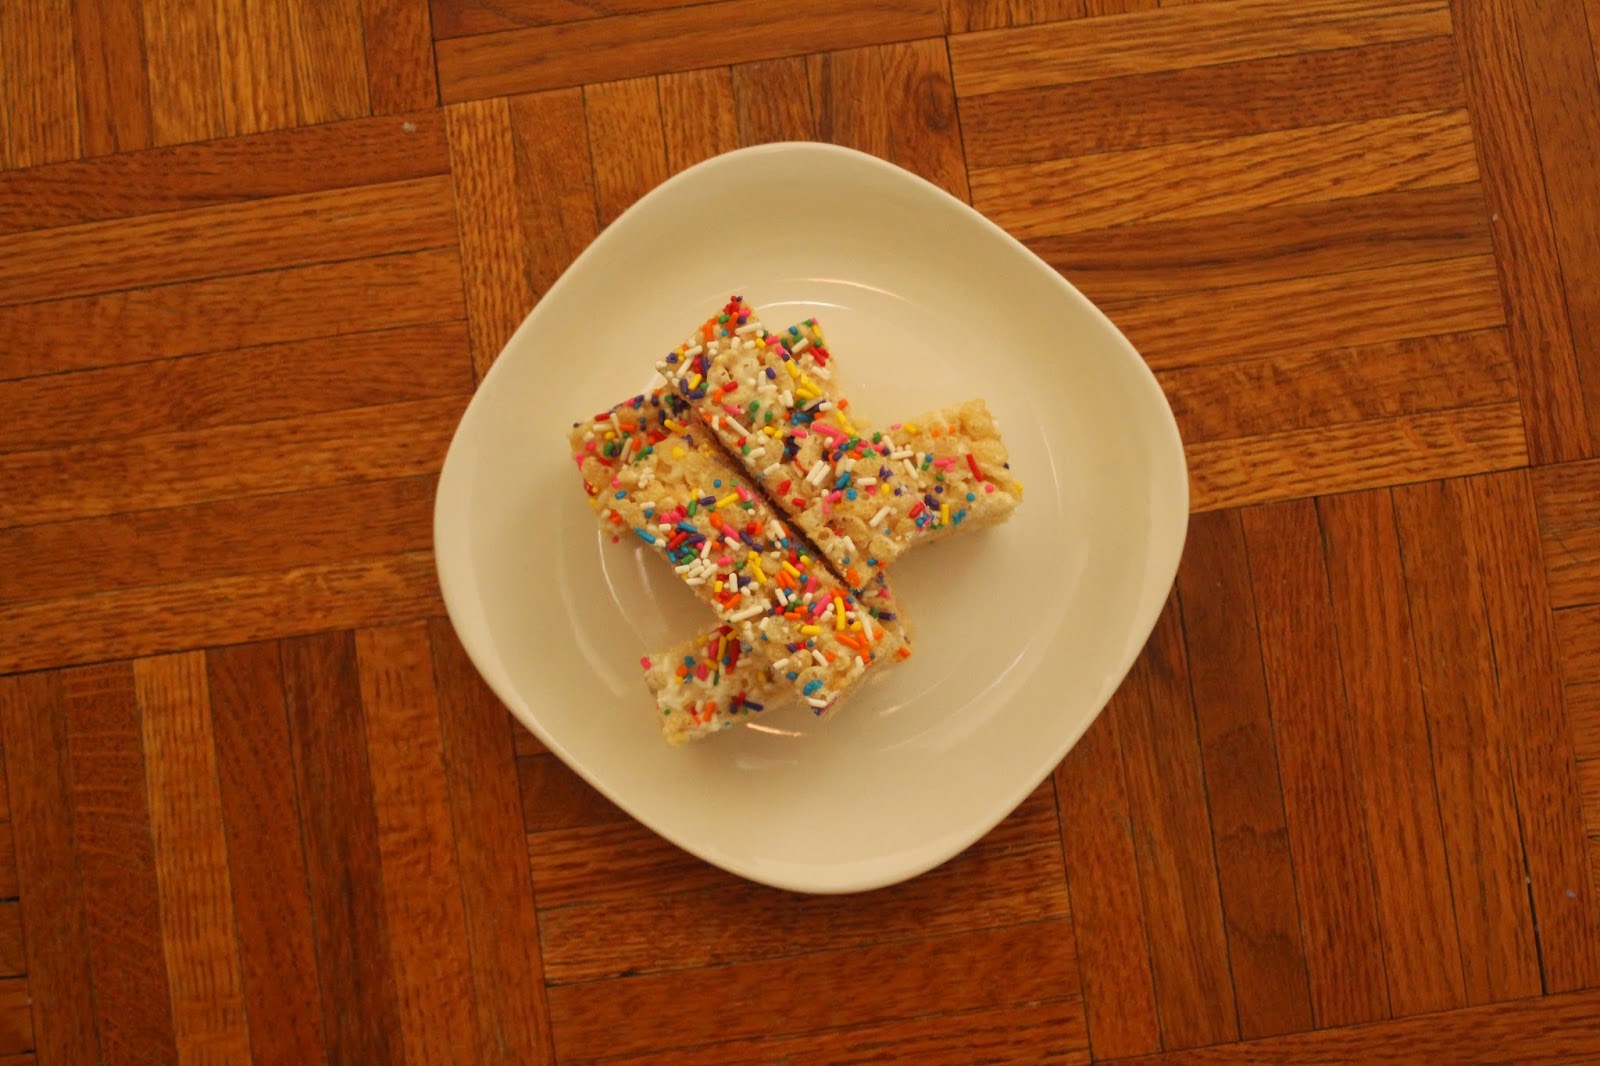
Place the rest of the mixture into the prepared baking pan (a silicone bowl scraper works like a charm for this) and use a spatula or bench scraper to spread the marshmallow evenly in the pan, pushing it down into the corners.
Work quickly, as the marshmallow becomes more difficult to manipulate as it begins to set.
Spray a sheet of plastic wrap liberally with cooking spray and lay it across the top of the marshmallow, sprayed side down.
Using you fingers, smooth the plastic wrap on top of the marshmallows a bit to seal it smoothly and tightly against the mixture.
Leave the marshmallow to set at room temperature for at least 3 hours or, even better, overnight.
The marshmallow will be too sticky and soft to cut if you try too soon.
Meanwhile, mix the coating ingredients in a bowl.
I whisked them together with a small whisk.
When marshmallows are ready, grab the edges of the parchment and lift the marshmallows from the pan.
Remove the plastic wrap from the top and fold down the parchment on the sides.
Using a pizza cutter or a large knife, cut the slab into 1x1 inch squares.
Roll each of the freshly cut marshmallow squares in the coating mixture.
Put them on a baking sheet to dry slightly before packaging them up (about 30 – 45 minutes).