Facebook 1

Sunday, March 31, 2013

Flourless chocolate earth cake

This year, my baking for Passover was limited.  I mean, baking for Passover is always limited, but I was particularly limited this year given my school work.  I did manage to make a delicious flourless chocolate cake, though!  This recipe was given to my mom by a friend of hers, who recommends the only garnish needs to be a sprinkling of powdered sugar (but that's not kosher for Passover), so I served it with some cut strawberries.


Passover Chocolate Earth Cake

Ingredients:

2 sticks butter (I used unsalted)
1 pound bittersweet chocolate, chopped into small pieces (I used semisweet, since they're interchangable)
9 large eggs, separated
3/4 cup sugar

Directions:

Preheat oven to 350F.
Butter a 9" springform pan

Melt the chocolate and butter together (I did it in a pot on the stove, though the original recipe says you can use the microwave, but to be careful not to burn it).

Whisk yolks and sugar together until light yellow.
Whisk a small amout of the chocolate mixture into the yolk mixture, then add in the rest of the chocolate mixture once it has been tempered.

Beat whites until stiff.
Fold whites into chocolate mixture.

Pour the batter into the prepared springform pan.
Bake 20-25 minutes.

Let cake start for 10 minutes then release the sides of the pan.

If using powdered sugar, sprinkle it on now.

ENJOY!!!! (This part was copied from the original recipe, too).

Sunday, March 24, 2013

Samoa cupcakes

The past 9 days have been rough for me.  I fell a little behind on a deadline for school while I was working on other things, and in order to meet the deadline, I spent hours upon hours of writing (two) articles and editing and submitting said articles...and hours upon hours NOT sleeping.  I was beyond stressed, and I love baking when I'm stressed, as it calms me down.  But my lack of time made it hard to bake.

BUT...I promised my friend L a while ago that I'd bake cupcakes for her husband J's 30th birthday this weekend.  AND I submitted my second article today, so I am less stressed and now with some free time.  I'm so glad that the timing worked and I was able to bake for J's birthday!  (For L's 30th birthday this past summer, I made the assortment of mini cupcakes that you can see here.)


L planned a birthday dinner at a BBQ place, so we were trying to figure out BBQ/Southern themed cupcake flavors for J's birthday.  Somehow we ended up with a few "Southern" flavors and a few, well, fun-but-not-very-Southern flavors.


The flavor she was most intrigued by and wanted immediately was this Samoa Cupcake (that I found on Pinterest).  I thought about making them mini, but figured that full sized cupcakes were probably easier to serve.  And boy was that a smart decision -- even though the recipe said that it makes 24 cupcakes, I got 36 full-sized ones!

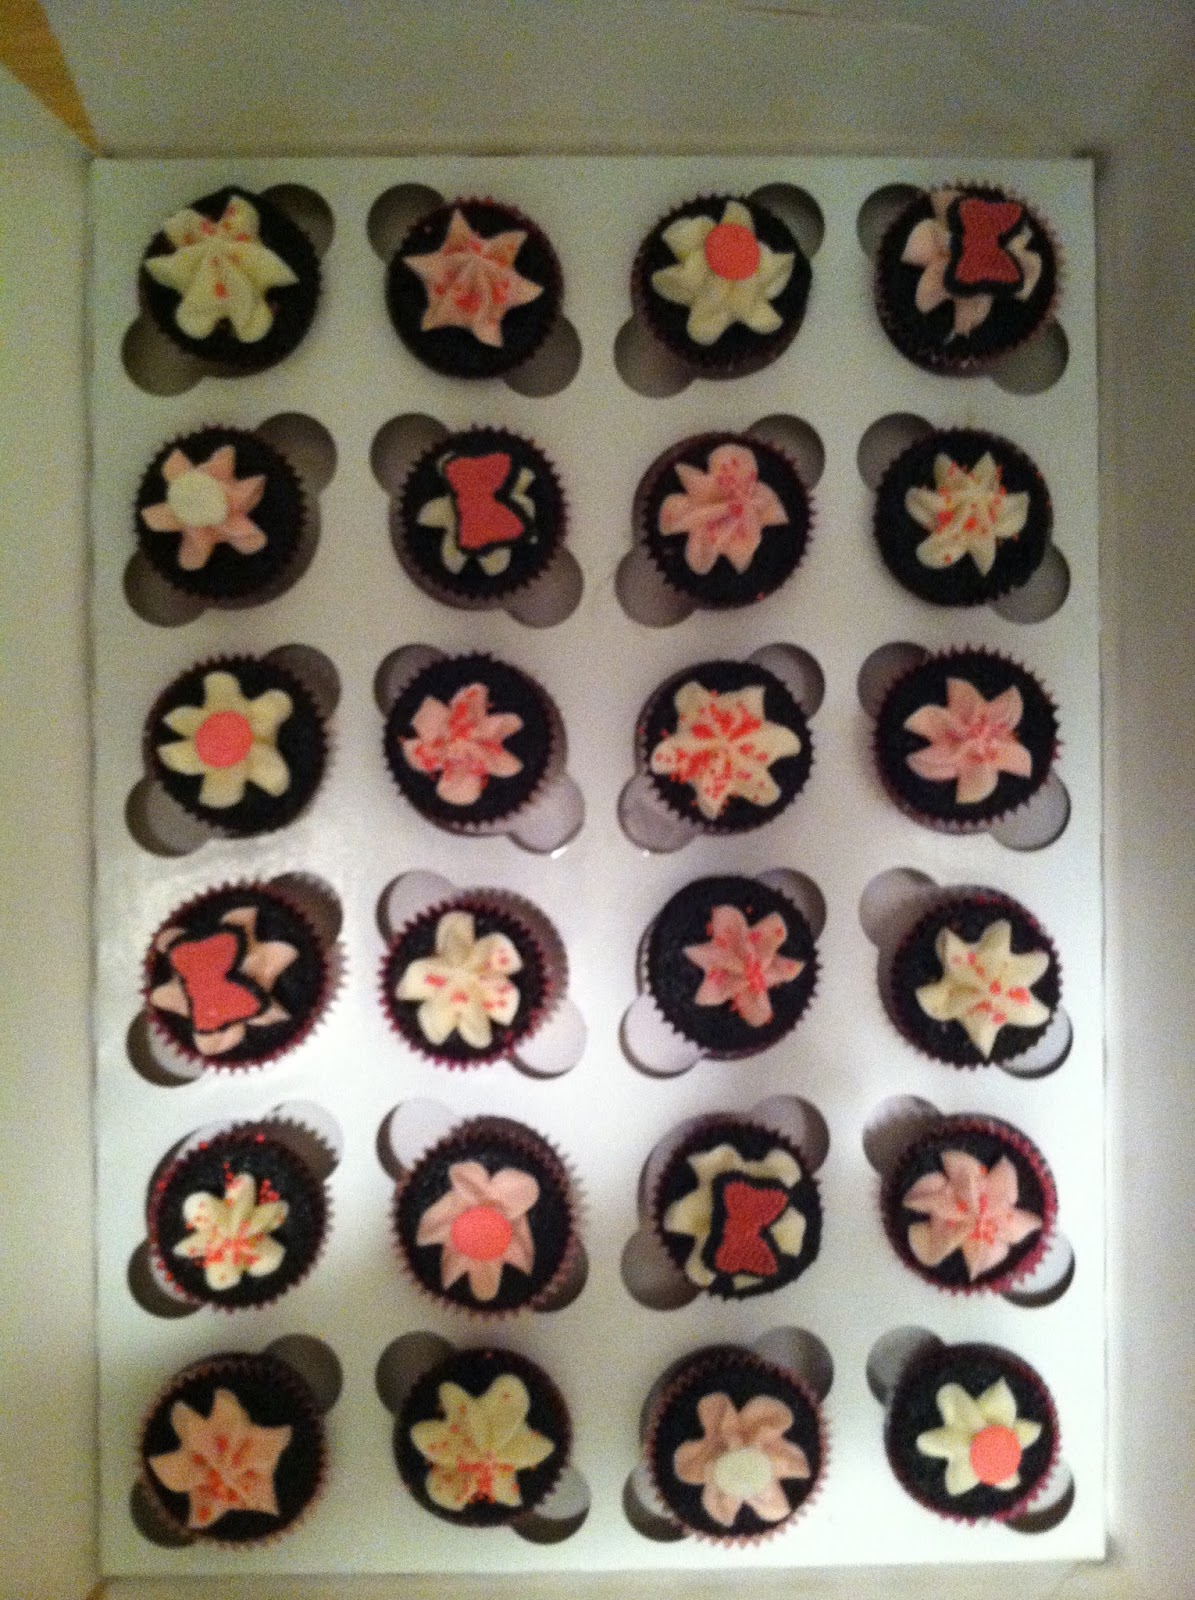
Red Velvet and Samoa Cupcakes for J's 30th!
[I should also let you in on a little a secret.  I have a box of (unopened) Samoa Girl Scout Cookies in my fridge...and a box of (unopened) Thin Mints, too.  This is when all my friends in New York City start suspiciously calling me to see if I want to hang out...to get a hold of my cookies.  But I digress.]

Samoa Cupcakes
from Spice is Nice

For the cupcakes:

Ingredients:

2 cups sugar
1 3/4 cup flour
3/4 cup Cocoa (Both she and I used Hershey’s special dark)
1 1/2 teaspoons baking powder
1 1/2 teaspoons baking soda
1 teaspoon salt
2 eggs
1 cup milk
1/2 cup vegetable oil
1 teaspoon vanilla
2 teaspoons coconut flavoring
1 cup coconut, packed
1 (scant) cup boiling water (I used 7/8 cup very hot tap water)

Directions:

Preheat oven to 350° and line 24 (like I said earlier, I got 36) muffin tins with cupcake liners.

In a large bowl, combine sugar, flour, cocoa, baking soda, baking powder and salt.

Add in eggs, milk, oil, vanilla, and coconut flavoring. Mix well.

Fold in coconut, then add boiling water. (Batter will be very thin)

Pour batter into muffin tins, filling each cup no more than 3/4 full.
Bake at 350° for 22-25 minutes (Mine took exactly 20 minutes) or until a toothpick inserted in the center comes out clean.
Let cool for several minutes, but then remove cupcakes from tins on cool on a wire rack.

For the Salted Caramel Buttercream:

Ingredients:

2 sticks butter, softened
2 teaspoons vanilla extract
1/2 cup caramel topping, plus more for drizzling (I ended up thinking that it didn't taste "caramel-y" enough, so I used extra caramel, which thinned out the icing a little...so I used the full 4 cups of powdered sugar)
1 pound powdered sugar (about 4 cups)
1 teaspoon salt

Directions:

Cream butter until fluffy.

Add in vanilla extract and caramel topping.
Add powdered sugar and salt and mix until smooth. If icing is still too thin add a bit more powdered sugar (the consistency differs based on the type of caramel topping you use).

Wait until cupcakes are completely cool, and use a pastry bag to ice the cupcakes.

For the Homemade Chocolate Sauce:

Ingredients:

1/4 cup cocoa powder (I used Hershey’s special dark)
1/4 cup granulated sugar
1/4 cup cold water
pinch of salt
1/2 teaspoon vanilla extract

Directions:

Combine all ingredients except vanilla extract in a small saucepan over medium-heat, and whisk until smooth.

Bring sauce to a boil and continue to whisk until sauce becomes thick.
Remove from heat (The original author didn't say when to add the vanilla, so I added it now).
Let cool slightly and drizzle over cupcakes or store in an airtight container in the fridge until needed.

Assembly:

Pipe icing onto cupcakes.

Sprinkle with toasted coconut (I just took some leftover coconut, put it on a foil-lined baking sheet, and toasted it at 350F.  Why 350?  Because thats what the oven was on from baking the cupcakes.  Watch closely -- it can burn in a matter of seconds).

Drizzle with chocolate sauce and remaining caramel sauce.

Sunday, March 3, 2013

Mini Minnie-themed cupcakes

For my friend's daughter's 3rd Birthday, I made some Minnie Mouse Oreo pops, as well as some mini cupcakes.  Staying with the Minnie Mouse theme, I bought some bright pink with white polka dot mini cupcake liners.  The final vote was for chocolate cupcakes with vanilla icing.


In terms of decorations, I wanted to stay with the Minnie Mouse theme.  The pink polka dotted cupcake liners were a start, but I needed some cute decorations.  I had some pink sugar bows (leftover from the Minnie Mouse sugar decorations from the Oreo pops), but there were only 9.  So I bought some big sprinkles in a variety of colors (light blue, dark blue, red, and white), but used the white ones only, and sprayed some of them pink with some leftover edible "spray paint.".  And I had a plethora of bright pink decorations in the apartment - namely nonpareils and sugar crystals.  And while I was already going overboard with the decorations, I figured why not make half of the vanilla icing pink?!


The result is 48 mini cupcakes in a pink-and-white Minnie Mouse theme!  I had enough leftover cake batter to make 3 regular sized cupcakes, one of which I decorated with pink icing and a leftover Minnie Mouse, for the birthday girl.


I used my favorite go-to chocolate cake recipe (the same one I made for my mom's birthday last month) and a new vanilla buttercream recipe (American buttercream, unlike it's French and Swiss counterparts, is way easier to make!).

Rich Chocolate Cake
(a recipe I got from a cooking class I took a long time ago....I may have posted it in the past).

Ingredients:

1 cup sugar
3/4 cup flour
1/2 cup Dutch processed cocoa powder
1 tsp baking soda
1/2 tsp baking powder
1 large egg PLUS 1 large egg yolk
1/2 cup very strong coffee (I used regular strength and they turned out just fine)
1/2 tsp vanilla extract
4 Tbsp (2 ounces) melted unsalted butter, cooled slightly
1/2 cup buttermilk

Directions:

Preheat the oven to 375F.
Line cupcake tray (or mini cupcake tray) with paper liners.

In a large bowl, whisk together the sugar, flour, cocoa powder, baking soda, and baking powder.
Set aside.

In another bowl, whisk together the egg, egg yolk, coffee, vanilla, melted butter, and buttermilk.

Whisk the liquid ingredients into the try. 
Pour into the cupcake tin.
Bake (Mini cupcakes took about 8 minutes, regular sized ones about 16-17).

Let cool.
Ice with your favorite frosting....or check out this delicious and easy vanilla buttercream:


Classic Vanilla Buttercream Frosting
From a new little blog I came across, SavorySweetLife

Ingredients:

1 cup unsalted butter (2 sticks), softened (but not melted!)
3-4 cups confectioners (powdered) sugar, SIFTED (I used 3 cups)
¼ teaspoon table salt
1 tablespoon vanilla extract
4 tablespoons milk or heavy cream (I used heavy cream, since thats what I had....and only ended up using 2 Tbsp)
Food coloring, optional

Directions:

Beat butter for a few minutes with a mixer with the paddle attachment on medium speed.
Add 3 cups of powdered sugar and turn mixer to the lowest speed (so the sugar doesn’t blow everywhere) until the sugar has been incorporated with the butter.
Increase mixer speed to medium and add vanilla extract, salt, and 2 tablespoons of cream and beat for 3 minutes.
If your frosting needs a more stiff consistency, add remaining sugar. If your frosting needs to be thinned out, add remaining milk 1 tablespoons at a time.

I took half the icing out of the mixer and put it into my piping bag fitted with a large tip.  Then, I added pink food coloring to the remaining frosting to make it pink.

Oreo pops, Disney-style

March 5th is my friend's daughter's 3rd birthday.  This year, she (the almost 3-year old, not the mom) chose a Minnie Mouse theme for her party.  Although I'm not going to make it to the actual party this year (it's a Sunday, and it's my Sunday to work), I couldn't not supply some Minnie Mouse-themed treats for the party. 

I discussed with my friend R what I'd make for the party.  We decided on Oreo pops for the kids, and some mini cupcakes (for the adults) to supplement the party-supplied "kids only" cake.  But that post will be up later...

I went to my trusty baking store to buy some Minnie Mouse sugar decorations for the Oreo pops, as well as a few other goodies, and bought out the last 3 packages.

When it came time to make the Oreo pops, I saw some bright pink and white striped paper straws that I had bought for my friend's 30th birthday party, but that were never used.  I cut them in half and used them instead of lollipop sticks for half of the Oreo pops.

Then, I did what I always do with Oreo pops....I wrapped them in clear bags and tied them with (bright pink) curling ribbon, curled the ribbon, and voila! adorable Minnie Mouse-themed Oreo pops!


Now, I've made Oreo pops a bunch of times in the past.  This post seems to be the best at how I did it, along with other sites that have directions.  It also happens to be that that post will take you to what I made for this same little girl for her 2nd birthday!